
Table of Contents
- Why Video Editing Is the Secret Weapon of Successful YouTubers
- The Best Free Video Editing Software for YouTube in 2026
- AI-Powered Editing Tools That Are Changing the Game
- Understanding the Video Editing Timeline
- Essential Cuts and Transitions
- Adding Text, Titles, and Graphics
- Audio Editing for YouTube Videos
- Basic Color Correction and Grading
- Pacing and Viewer Retention Techniques
- Exporting and Uploading for YouTube
- Key Takeaways
- Frequently Asked Questions
Why Video Editing Is the Secret Weapon of Successful YouTubers
The difference between a YouTube video with 100 views and one with 100,000 views often comes down to editing. Learning how to edit YouTube videos for beginners is not about fancy effects or Hollywood-level production - it is about pacing, clarity, and keeping viewers engaged from the first second to the last. YouTube’s algorithm heavily rewards watch time and retention, meaning well-edited videos that hold attention get recommended to more viewers.
Consider MrBeast, the platform’s most subscribed individual creator with over 477 million subscribers as of early 2026. His team spends days editing a single video, meticulously cutting every second of dead time to maintain maximum engagement. While you do not need his budget or team, the principles behind his editing style are accessible to anyone: cut the boring parts, emphasize the exciting moments, and never let the viewer’s attention drift.
YouTube currently has over 2.7 billion monthly active users, and over 500 hours of video are uploaded every minute. Standing out in this sea of content requires more than just a good idea - it requires execution, and editing is where execution happens. The good news is that learning how to edit YouTube videos for beginners has never been easier, thanks to powerful free software, AI-assisted editing tools, and thousands of tutorials. In 2026, budget $0 for video editing software - free options like DaVinci Resolve and CapCut cover 95% of what any creator needs.
The Best Free Video Editing Software for YouTube in 2026
You do not need to spend hundreds of dollars on editing software. These free options are capable of producing professional-quality YouTube content, and in many cases rival or exceed paid alternatives.
DaVinci Resolve (Best Overall Free Editor)
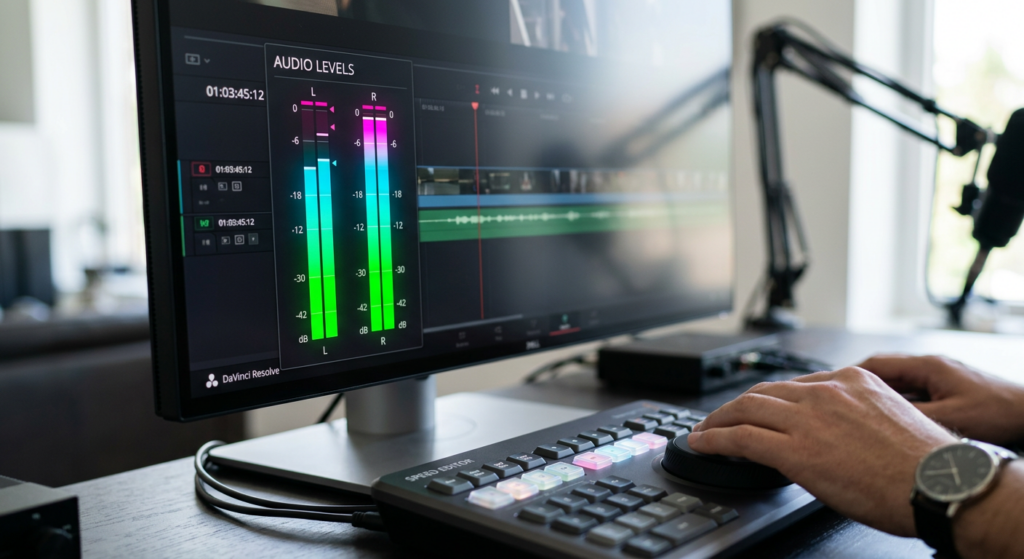
DaVinci Resolve by Blackmagic Design is the most powerful free video editor available in 2026. It includes professional-grade editing, color correction, visual effects, motion graphics, and audio post-production tools - all in a single application. The free version has almost no limitations for YouTube creators. Major films and TV shows are edited in DaVinci Resolve, so you are using the same tool as Hollywood professionals. The learning curve is steeper than simpler editors, but the investment in learning it pays off enormously. The paid Studio version ($295 one-time purchase - not a subscription) unlocks AI-powered features like magic mask, speed warp, and advanced noise reduction, but the free version is genuinely complete for YouTube work. DaVinci Resolve is the industry standard for color grading and is increasingly the go-to for creators who want professional results without a monthly subscription.
CapCut (Best for Quick, AI-Assisted Edits)
CapCut, made by ByteDance (the company behind TikTok), has become massively popular with YouTube creators and represents a shift from manual editing to AI-assisted creation. It offers a desktop app, mobile app, and browser-based editor - all with free tiers. CapCut excels at trendy editing styles with built-in templates, AI auto-captions, background removal, AI reframing for different aspect ratios, and effects that would take hours to create manually. For short-form content under 3 minutes, CapCut’s AI-assisted workflow is typically 5 to 10 times faster than traditional editors. The free version is robust, while CapCut Pro at $9.99 per month ($89.99 per year) adds premium templates, additional AI features, and removes watermarks on certain effects. It is the fastest way to go from raw footage to a finished video, making it ideal for creators who want to publish frequently without spending hours editing.
iMovie (Best for Mac Beginners)
Apple’s iMovie is free for Mac users and offers the most beginner-friendly interface of any video editor. It includes templates, transitions, title effects, and basic color correction. While it lacks the advanced features of DaVinci Resolve, its simplicity makes it perfect for creators just learning how to edit YouTube videos for beginners. iMovie also benefits from Apple Silicon optimization - on M-series MacBooks and iMacs, rendering and exporting are remarkably fast. Many successful YouTubers started with iMovie before graduating to more advanced tools.
Clipchamp (Built Into Windows)
Microsoft’s Clipchamp comes pre-installed on Windows 11 and is free to use. It is browser-based with a clean, modern interface that makes basic editing straightforward. It includes stock footage, music, transitions, text overlays, and AI-powered auto-compose features. Export quality on the free plan is limited to 1080p, which is sufficient for most YouTube content. Clipchamp is ideal for Windows users who want to start editing immediately without downloading additional software.
AI-Powered Editing Tools That Are Changing the Game
The biggest shift in video editing since 2024 has been the integration of AI tools into every major editing platform. For anyone learning how to edit YouTube videos for beginners, AI features dramatically reduce the time and skill required to produce polished content.
AI Auto-Captions
Both CapCut and DaVinci Resolve now offer AI-powered automatic caption generation that transcribes your speech into animated subtitles. CapCut’s auto-caption feature is particularly polished, offering multiple caption styles and animations that match current YouTube and TikTok trends. According to viewer studies, 80% of viewers are more likely to watch an entire video when captions are available, and a large percentage watch videos with sound off in public places. AI captions are typically 90-95% accurate and require only minor manual cleanup.
AI Background Removal and Reframing
CapCut’s AI can remove backgrounds from video in real time - no green screen needed. This is valuable for creators who film in imperfect spaces. AI reframing automatically adjusts your horizontal video for vertical formats (YouTube Shorts, TikTok, Instagram Reels), intelligently tracking the subject and keeping them centered. What used to require manual keyframing now happens automatically.
AI-Powered Clip Selection
Tools like Opus Clip and Descript use AI to analyze long-form videos and automatically identify the most engaging segments for repurposing as short-form clips. Descript’s text-based editing approach lets you edit video by editing a transcript - delete a sentence from the text and the corresponding video is removed. These AI tools are transforming how creators repurpose long YouTube videos into Shorts, Reels, and TikToks without manually scrubbing through hours of footage.
AI Color Matching and Audio Cleanup
Adobe Premiere Pro ($22.99 per month on the annual plan, or $34.49 month-to-month) has integrated AI features for automatic color matching between clips, speech enhancement that cleans up poor audio, and generative extend that fills gaps in clips. DaVinci Resolve Studio ($295 one-time) offers AI-powered noise reduction, magic mask for isolating subjects, and speed warp for smooth slow motion. Even free tools like CapCut now include AI audio noise removal that produces results comparable to what required expensive plugins just two years ago.
Understanding the Video Editing Timeline
The timeline is the heart of any video editor. Understanding how it works is essential when learning how to edit YouTube videos for beginners.
What Is a Timeline?
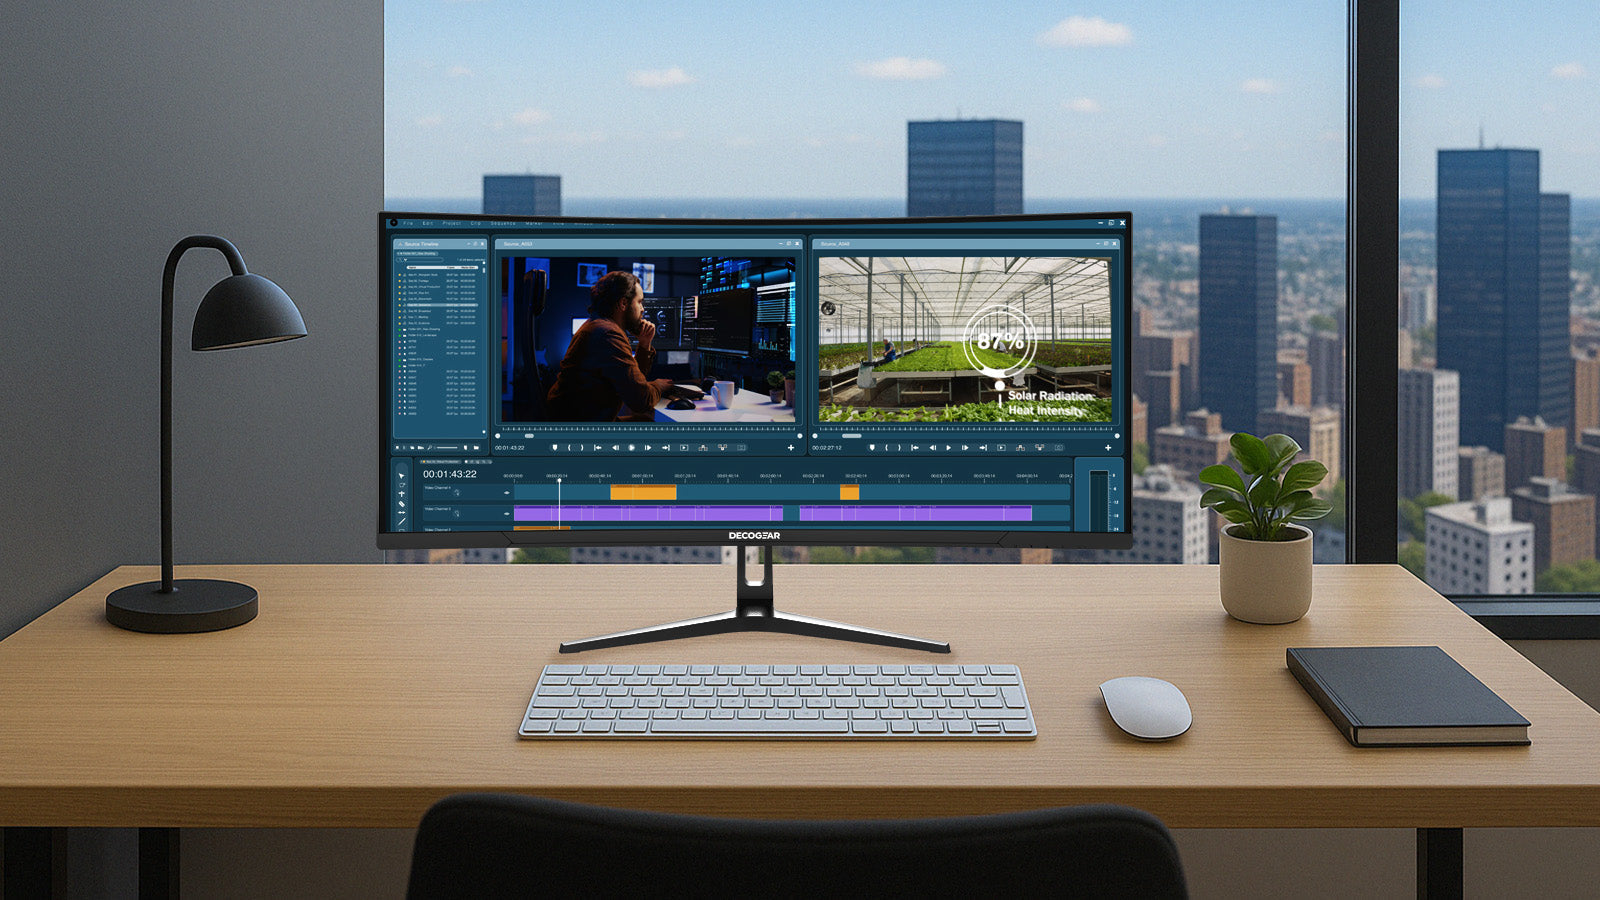
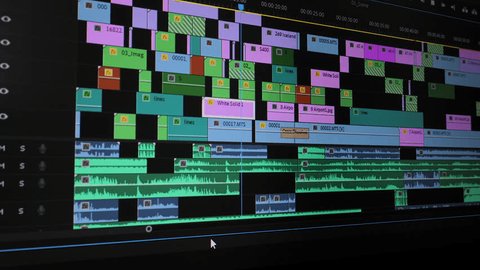
The timeline is a horizontal strip at the bottom of your editing software where you arrange video clips, audio, music, text, and effects in sequence. Think of it as a visual representation of your video from start to finish, reading left to right. Each element sits on a separate “track” - video on one track, background music on another, voice narration on a third, and so on.
Video and Audio Tracks
Most editors support multiple video tracks (stacked vertically) and multiple audio tracks. Higher video tracks appear in front of lower ones - so a text overlay on Track 2 appears on top of your footage on Track 1. Audio tracks all play simultaneously, which is how you layer voice, music, and sound effects together. Understanding this layering concept is fundamental to creating polished videos.
The Playhead and Preview
The playhead is the vertical line that moves across the timeline, indicating the current position in your video. As it moves, the preview window shows what the video looks like at that exact point. You can drag the playhead to scrub through your footage, jump to specific sections, and identify exactly where to make cuts.
Importing Media
Before editing, import your raw footage, music files, and any graphics into your project’s media pool. Most editors support drag-and-drop from your file browser. Organize your imported media into bins or folders - “Footage,” “Music,” “Graphics,” “B-Roll” - so you can find what you need quickly during the editing process.
Essential Cuts and Transitions
The cut is the most fundamental editing technique. Mastering different types of cuts is the core of learning how to edit YouTube videos for beginners.
The Hard Cut
A hard cut is an instant switch from one clip to another with no transition. It is the most common and most professional cut type. About 95% of the cuts in a typical YouTube video are hard cuts. They are fast, clean, and do not distract from the content. Use hard cuts to remove pauses, mistakes, and dead air between sentences. This creates the fast-paced, engaging editing style that defines modern YouTube content.
The Jump Cut
A jump cut is a hard cut within the same shot - the camera does not move, but time jumps forward. This is the signature editing technique of YouTube, popularized by creators like Philip DeFranco and Casey Neistat. Film a talking-head segment in one continuous take, then cut out every pause, stutter, and unnecessary word. The result is a punchy, fast-paced delivery that keeps viewers engaged. Jump cuts work best when the subject is centered in frame so the jumps feel intentional rather than jarring.
The J-Cut and L-Cut
A J-cut starts the audio from the next clip before the video switches - you hear the next scene before you see it. An L-cut does the opposite - the audio from the current clip continues playing after the video switches to the next shot. Both techniques create smooth, professional transitions that make your editing feel cinematic rather than choppy. They are especially effective when cutting between a talking-head shot and B-roll footage.
Transitions
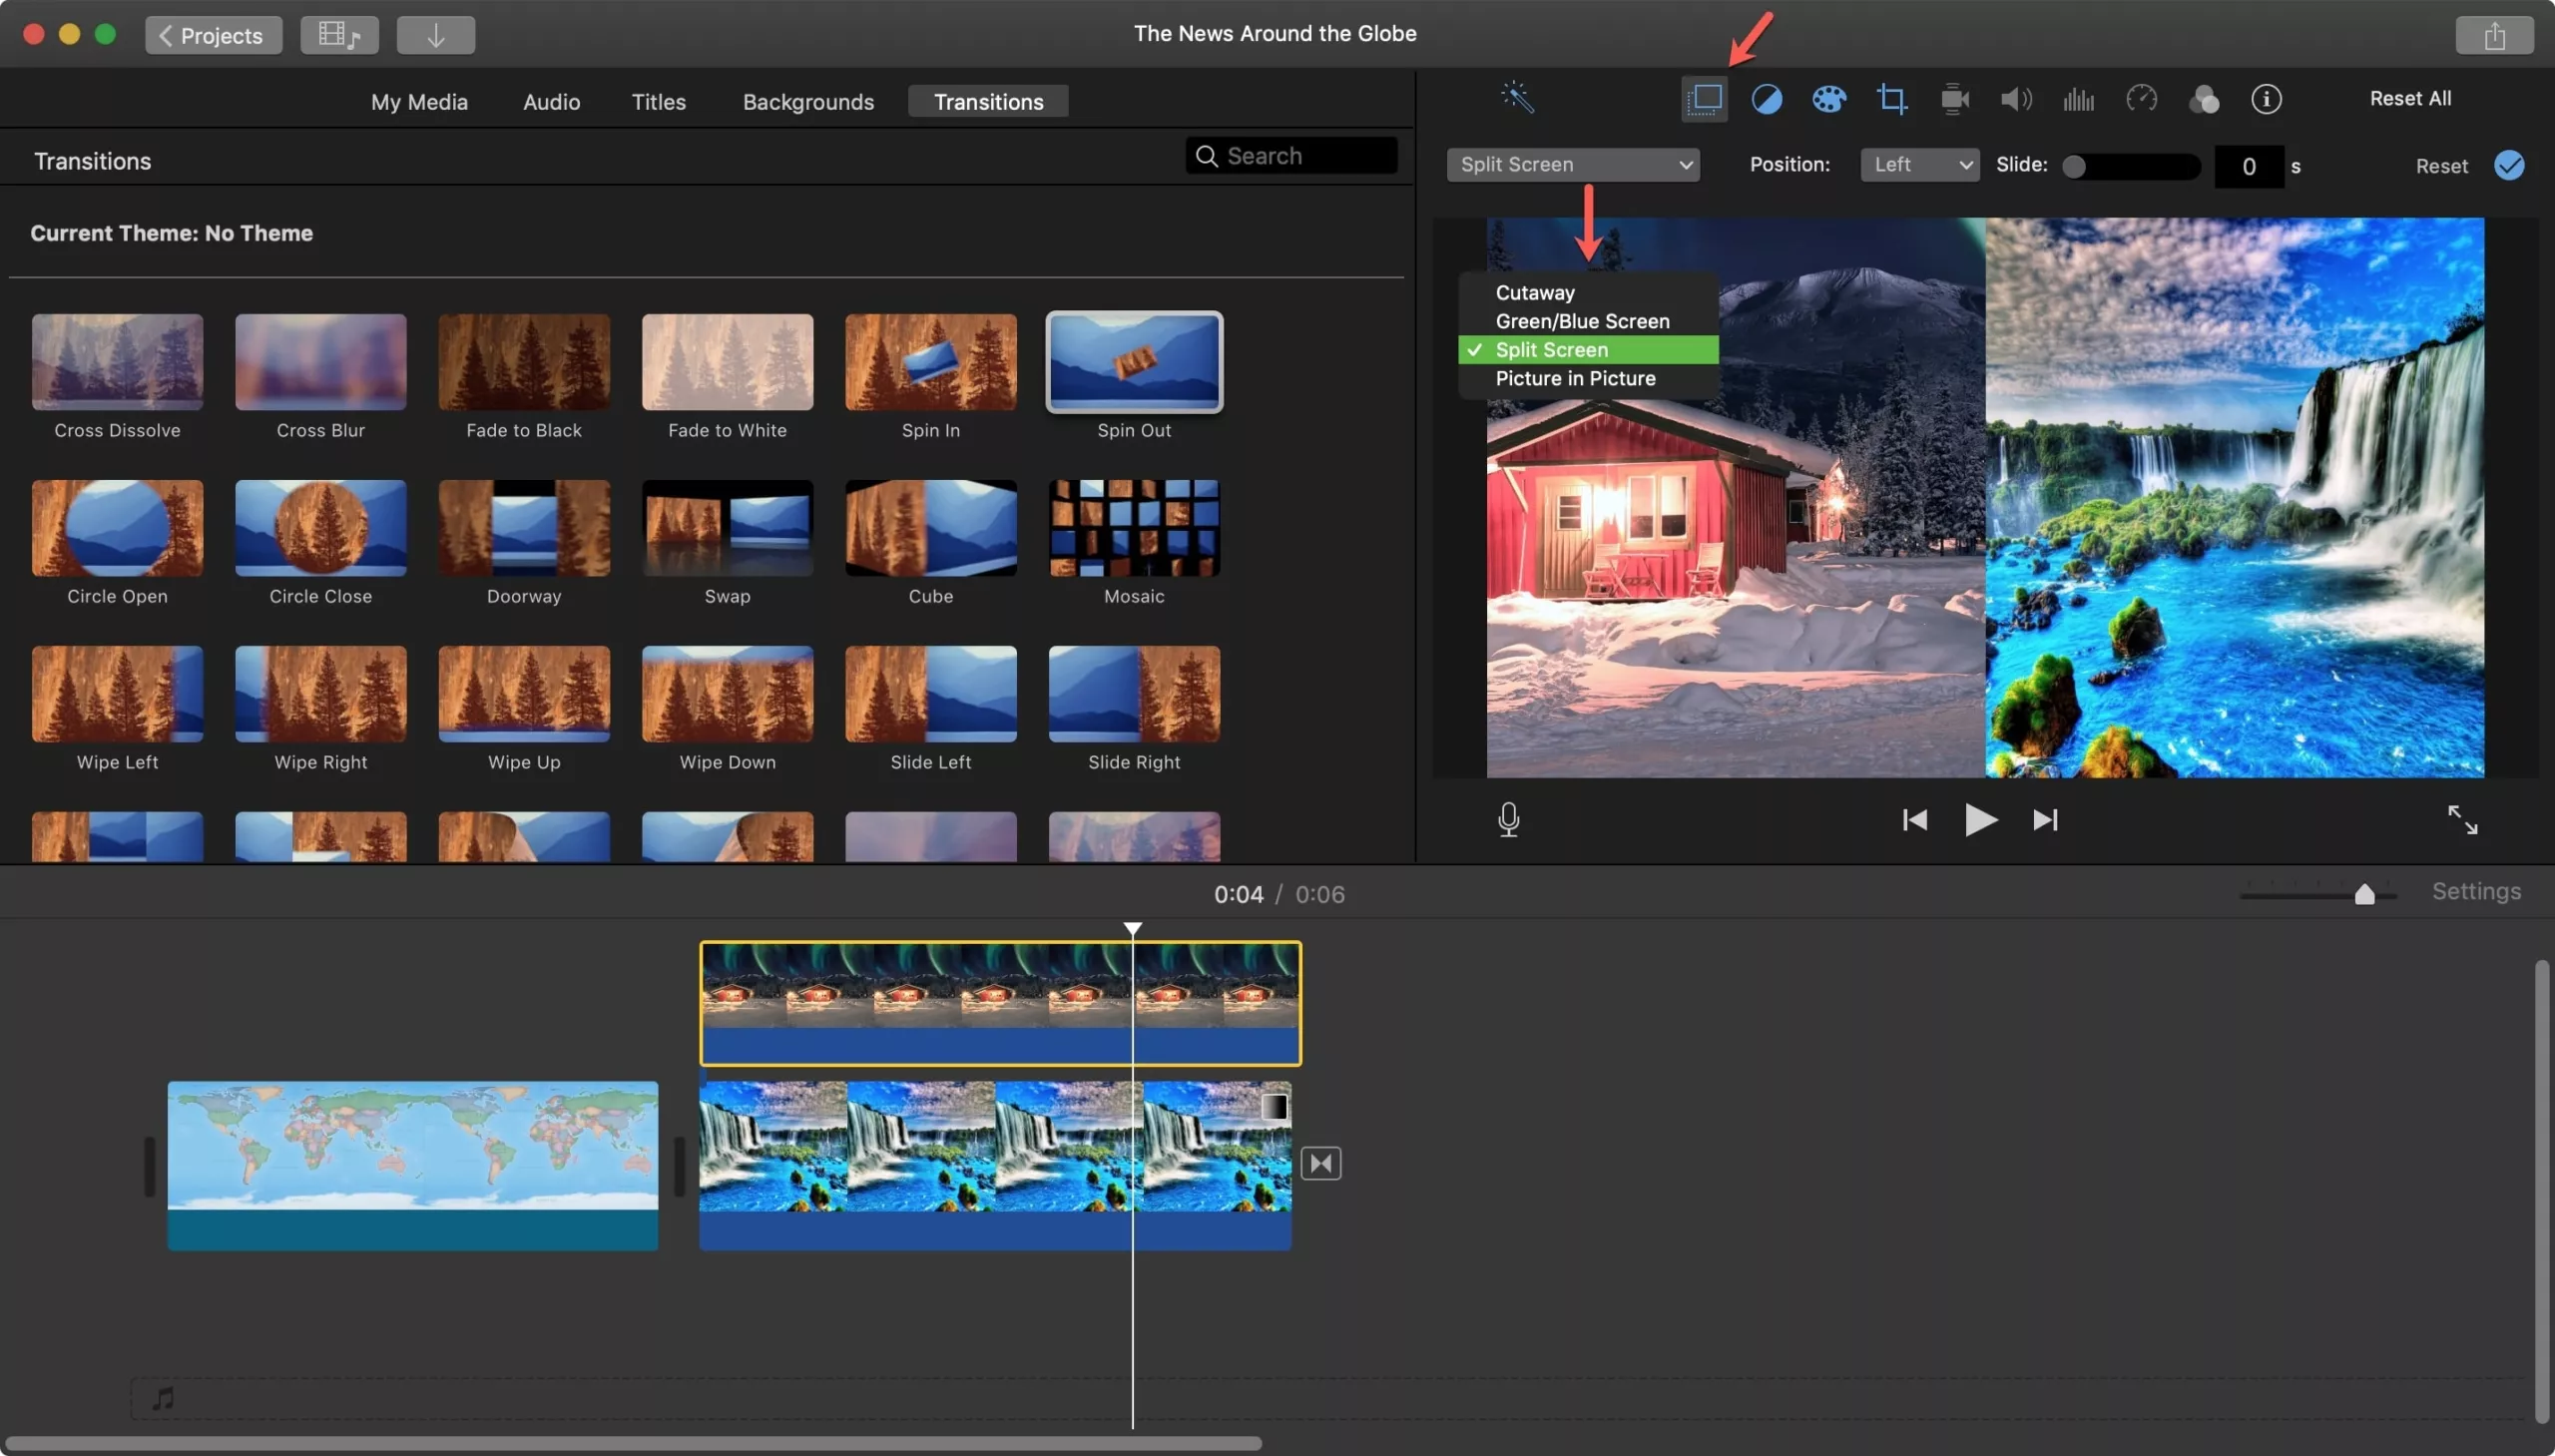
Transitions like cross-dissolves, wipes, and zoom effects should be used sparingly. Overusing transitions is a classic beginner mistake that makes videos look amateur. Use a cross-dissolve to indicate the passage of time. Use a dip-to-black to signify a major topic change. Avoid star wipes, spinning transitions, and other flashy effects unless they serve a specific creative purpose (like comedy). When in doubt, use a hard cut.
Adding Text, Titles, and Graphics
Text overlays and graphics help communicate information, emphasize key points, and add visual interest to your YouTube videos.