Is photography a hobby of yours? Do you want to experiment by photographing different lights?
Light is one of the most important elements in photography. It creates mood, depth, and drama in an image. But, capturing light can be a challenge, especially when it comes to night photography or low-light conditions.
So how do you exactly do this? We show you how to photograph lights with four proven techniques to help you capture stunning photographs of lights here. Read on for more!
1. Long Exposure

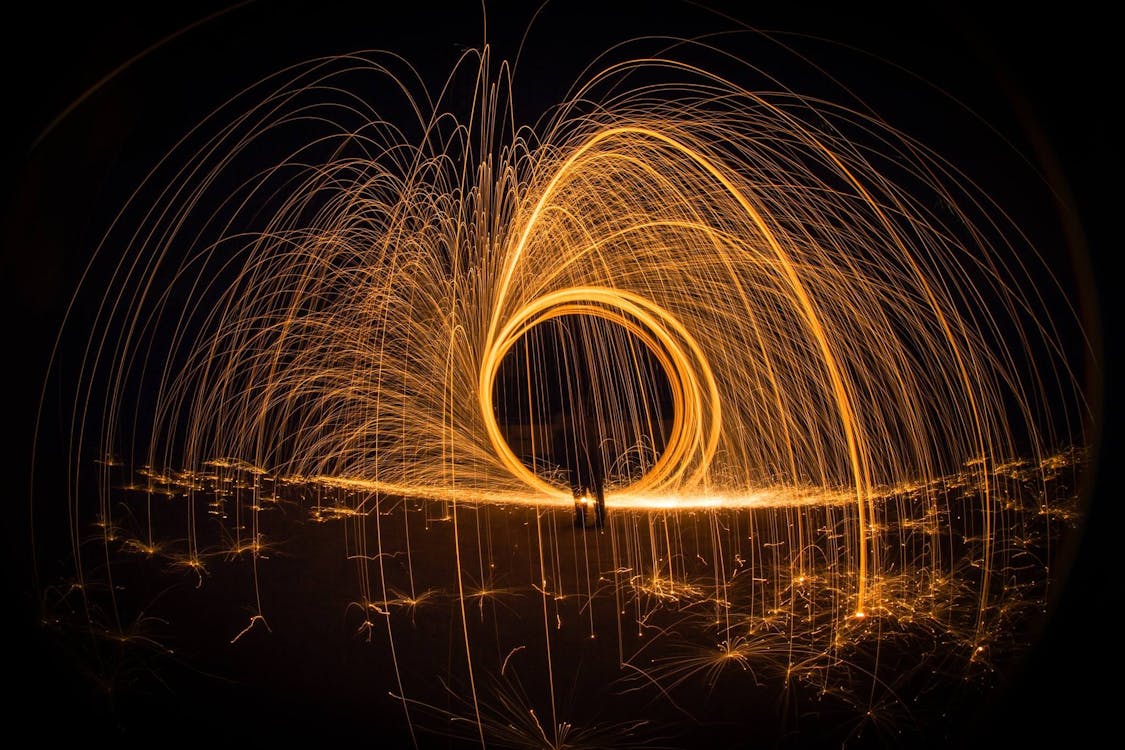
Long exposure that involves leaving the camera’s shutter open for an extended period of time. This allows more light to enter the camera and creates a beautiful blur effect. This is especially useful when photographing lights at night.
It captures the movement of the lights and creates a unique and dynamic image. To use this technique, you will need a tripod to keep the camera steady. You will also need to switch your camera to manual mode, so you can control the shutter speed. A good starting point is 5-10 seconds.
But, you can experiment with longer or shorter exposures to see what works best. It’s also important to set your camera’s ISO to a low level like 100 or 200 to lessen noise in your image. If the exposure is too long, you can use a neutral density filter to reduce the light entering the camera.
2. Panning
Panning is when you move the camera in a smooth motion while taking pictures. This creates a motion blur effect that emphasizes the light’s movement. This works well when photographing moving lights.
To do this, set your camera to a fast shutter speed like1/50 or 1/100 of a second. Start by following the movement of the light with your camera, and then press the shutter button to capture the image. The key is to keep the movement smooth and follow the speed of light.
3. Light Painting

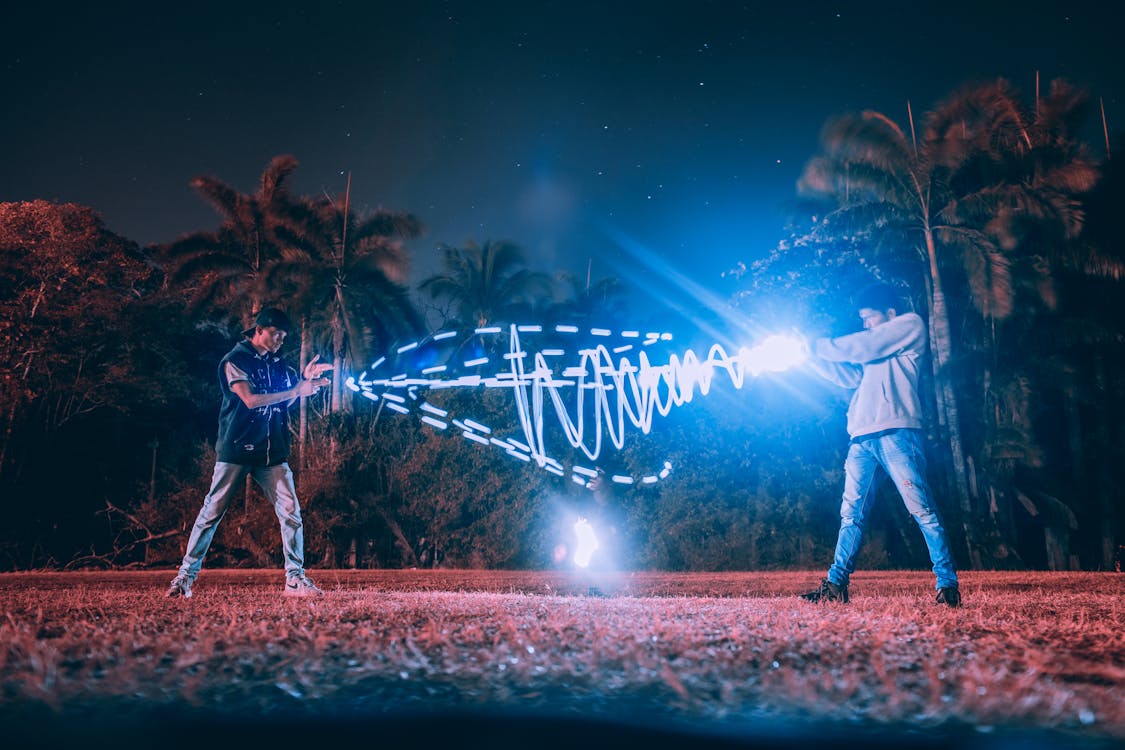
Light painting is a technique where you use a light source, such as holiday lights or holiday candles, to “paint” the image subject. This technique allows you to add light to specific areas of the scene and create interesting and creative effects.
Set your’s camera to a long setting like 30 seconds to do this. Then, turn off all other lights in the scene and use your light source to “paint” the subject. You can also experiment with different colors and shapes to create unique and interesting light effects.
4. Light Trail
Light trail is where you capture the trails of moving lights in your image. This works well when photographing lights in a cityscape. To use this technique, set your camera to a long exposure. Then, find a location where there is a lot of movement.
Use a tripod to keep the camera steady and capture the trails of the moving lights. You can also experiment with different shutter speeds to create longer or shorter trails.
With its intricate details and vivid colors, this is best saved in the PNG format to preserve the beauty of the photo. But, if a smaller file size is needed, the photo can be saved as a JPEG by using a png to jpeg converter.
How to Photograph Lights Effectively
Photographing lights can be a challenge, but with the right techniques, you can create stunning and unique images. Whether you’re considering any of these techniques that we mentioned, the key is to experiment and have fun.
So, now that you know how to photograph lights better, grab your camera and start exploring the world of light photography today!
If you want more similar topics, visit our blog!


